How To Measure Your Waist Alone Without Tape Slip
A step-by-step method for getting a reliable waist number when you are measuring by yourself.
How To Measure Your Waist Alone Without Tape Slip
Reliable solo waist measurement is mostly about process control. You want the same tape position, the same tension, and the same body condition each time. If those variables move around, your weekly tracking data becomes less useful.
1. Stand naturally
Relax your stomach and breathe normally. Do not suck in unless you want a compression-style clothing measurement.
If you are using the number for progress tracking, measure under similar conditions each time. Morning or pre-meal readings are often easier to compare than random after-dinner measurements.
2. Use the same measurement point every time
Pick the narrowest point of your waist or the level you use consistently in your tracking routine. Consistency matters more than perfection.
Do not switch back and forth between natural waist and navel level unless your program specifically requires it. The best measurement point is the point you will actually repeat.
3. Lock the tape before reading
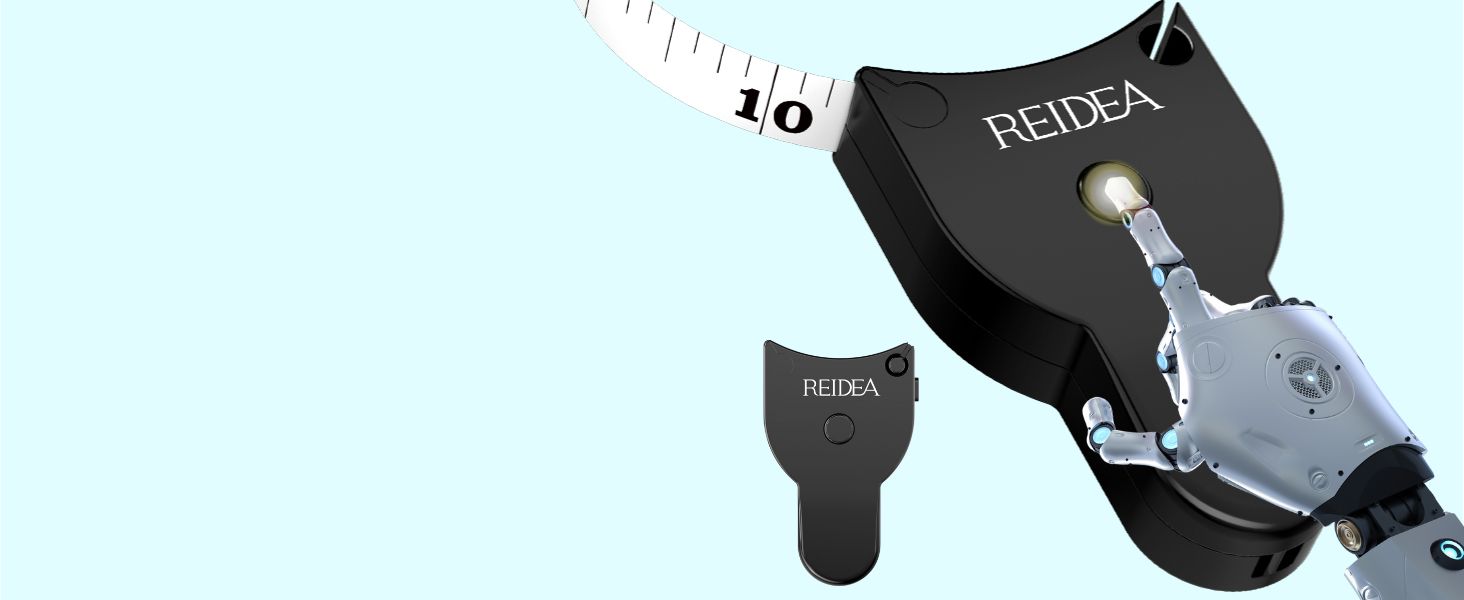
With a body measuring tape, wrap the tape, insert the pin into the lock slot, let the retractable body tighten gently, and only then read the number.
That order matters because reading too early is one of the main causes of tape slip. Let the loop settle first, confirm that it is level, and then record the number.
4. Keep it snug, not tight
The tape should touch your body evenly. If it digs into the skin, you are measuring pressure instead of circumference.
Many people accidentally create fake progress by tightening harder on later measurements. If the tape compresses soft tissue, your number may look smaller without your body actually changing.
5. Repeat once
Take the measurement twice. Matching numbers usually mean you did it correctly.
If the two numbers differ more than expected, reset and measure again. Most inconsistencies come from angle, level, or tension rather than from the tape itself.
Common causes of tape slip
- trying to read while the loop is still moving
- using a loose sewing tape with no lock point
- wrapping too high on one side and too low on the other
- changing posture while turning to read the scale
Watch the workflow
These videos are useful because body tapes are easier to understand in motion than in static photos.
If you want a purpose-built body tape
Final takeaway
Avoiding tape slip is mostly about routine plus tool choice. A better body tape will not fix every inconsistency by itself, but it will reduce the amount of hand-juggling that causes most solo measurement errors.
Prefer an offline copy? Download this article as PDF .